How to Shoot Better Photos of Shipwrecks
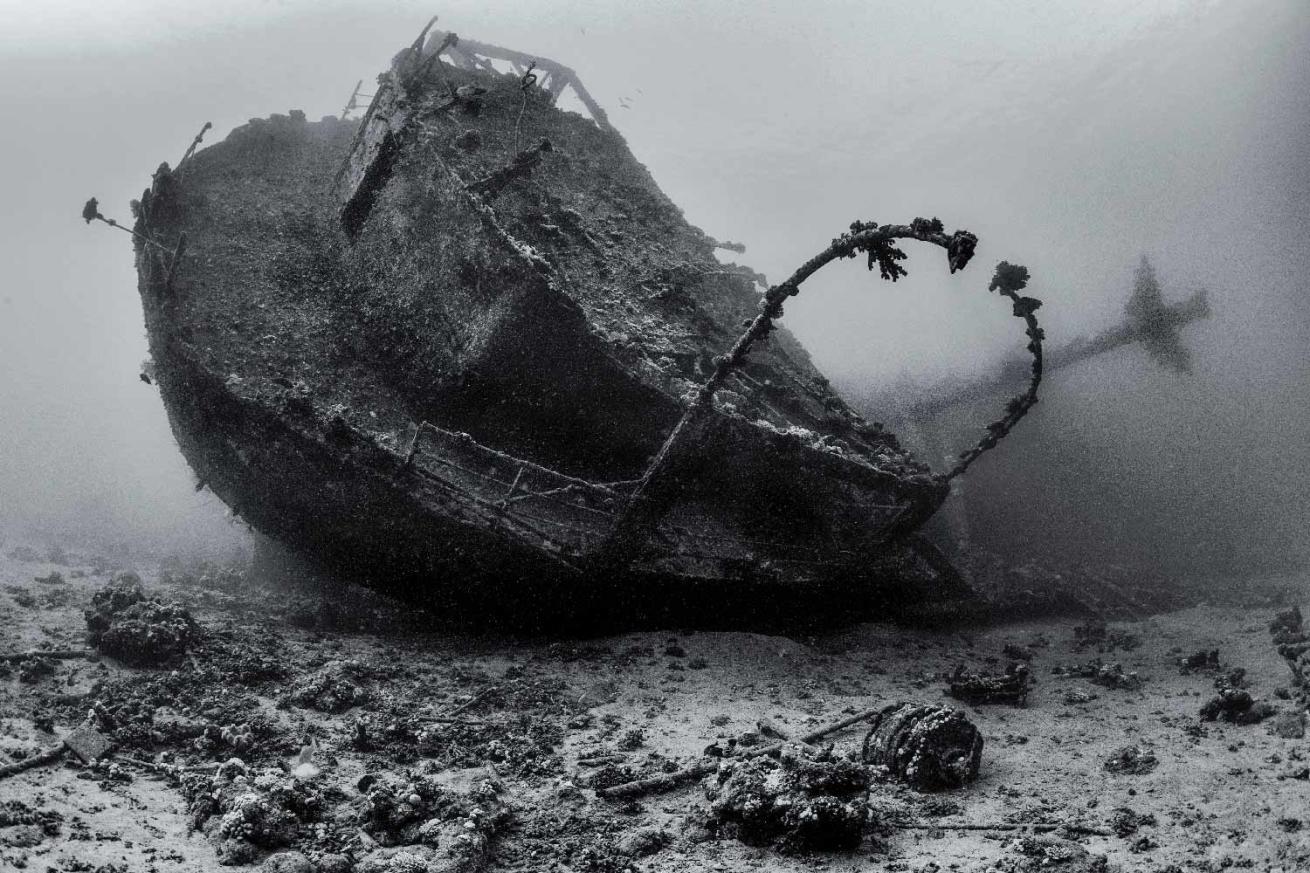
Alex MustardBlack-and-white images feel historic and really suit wrecks, especially when taken upward, against or across the direction of the sunlight.
Shipwrecks can be awe-inspiring, mysterious and sometimes tragic. The challenge for photographers is producing an eye-catching composition while also injecting a sense of these feelings into their pictures. Get it right, and your wreck photos will be among your most appealing work. Get the details wrong, and you’ll have murky metal in shades of blue. Just because wrecks don’t move, that doesn’t make them easy to shoot. Here are pointers to shift the advantage in your favor.
Go Big or Go Home
Size matters when it comes to wreck photography, and the biggest view is usually best. Think for a moment how you imagined a shipwreck before you ever dived on one. Typically, it will have been an idealized view of an entire ship sitting there on the seabed. When photographers can capture a similar scene in their pictures, the result is likely to strike a chord with the feelings of any audience.
The key to the big shot is to use as wide a lens as possible—a fisheye is ideal for fitting the maximum amount into frame while shooting through as little water as possible. If you can see the whole wreck within the visibility, then you should try to show it in its entirety. Much of the time, this is not possible, so you should instead focus your efforts on large recognizable features, such as the bow or stern, which still give the impression of a complete, entire ship resting beneath the waves. Alternatively, consider interesting structures like the bridge or guns on warships.
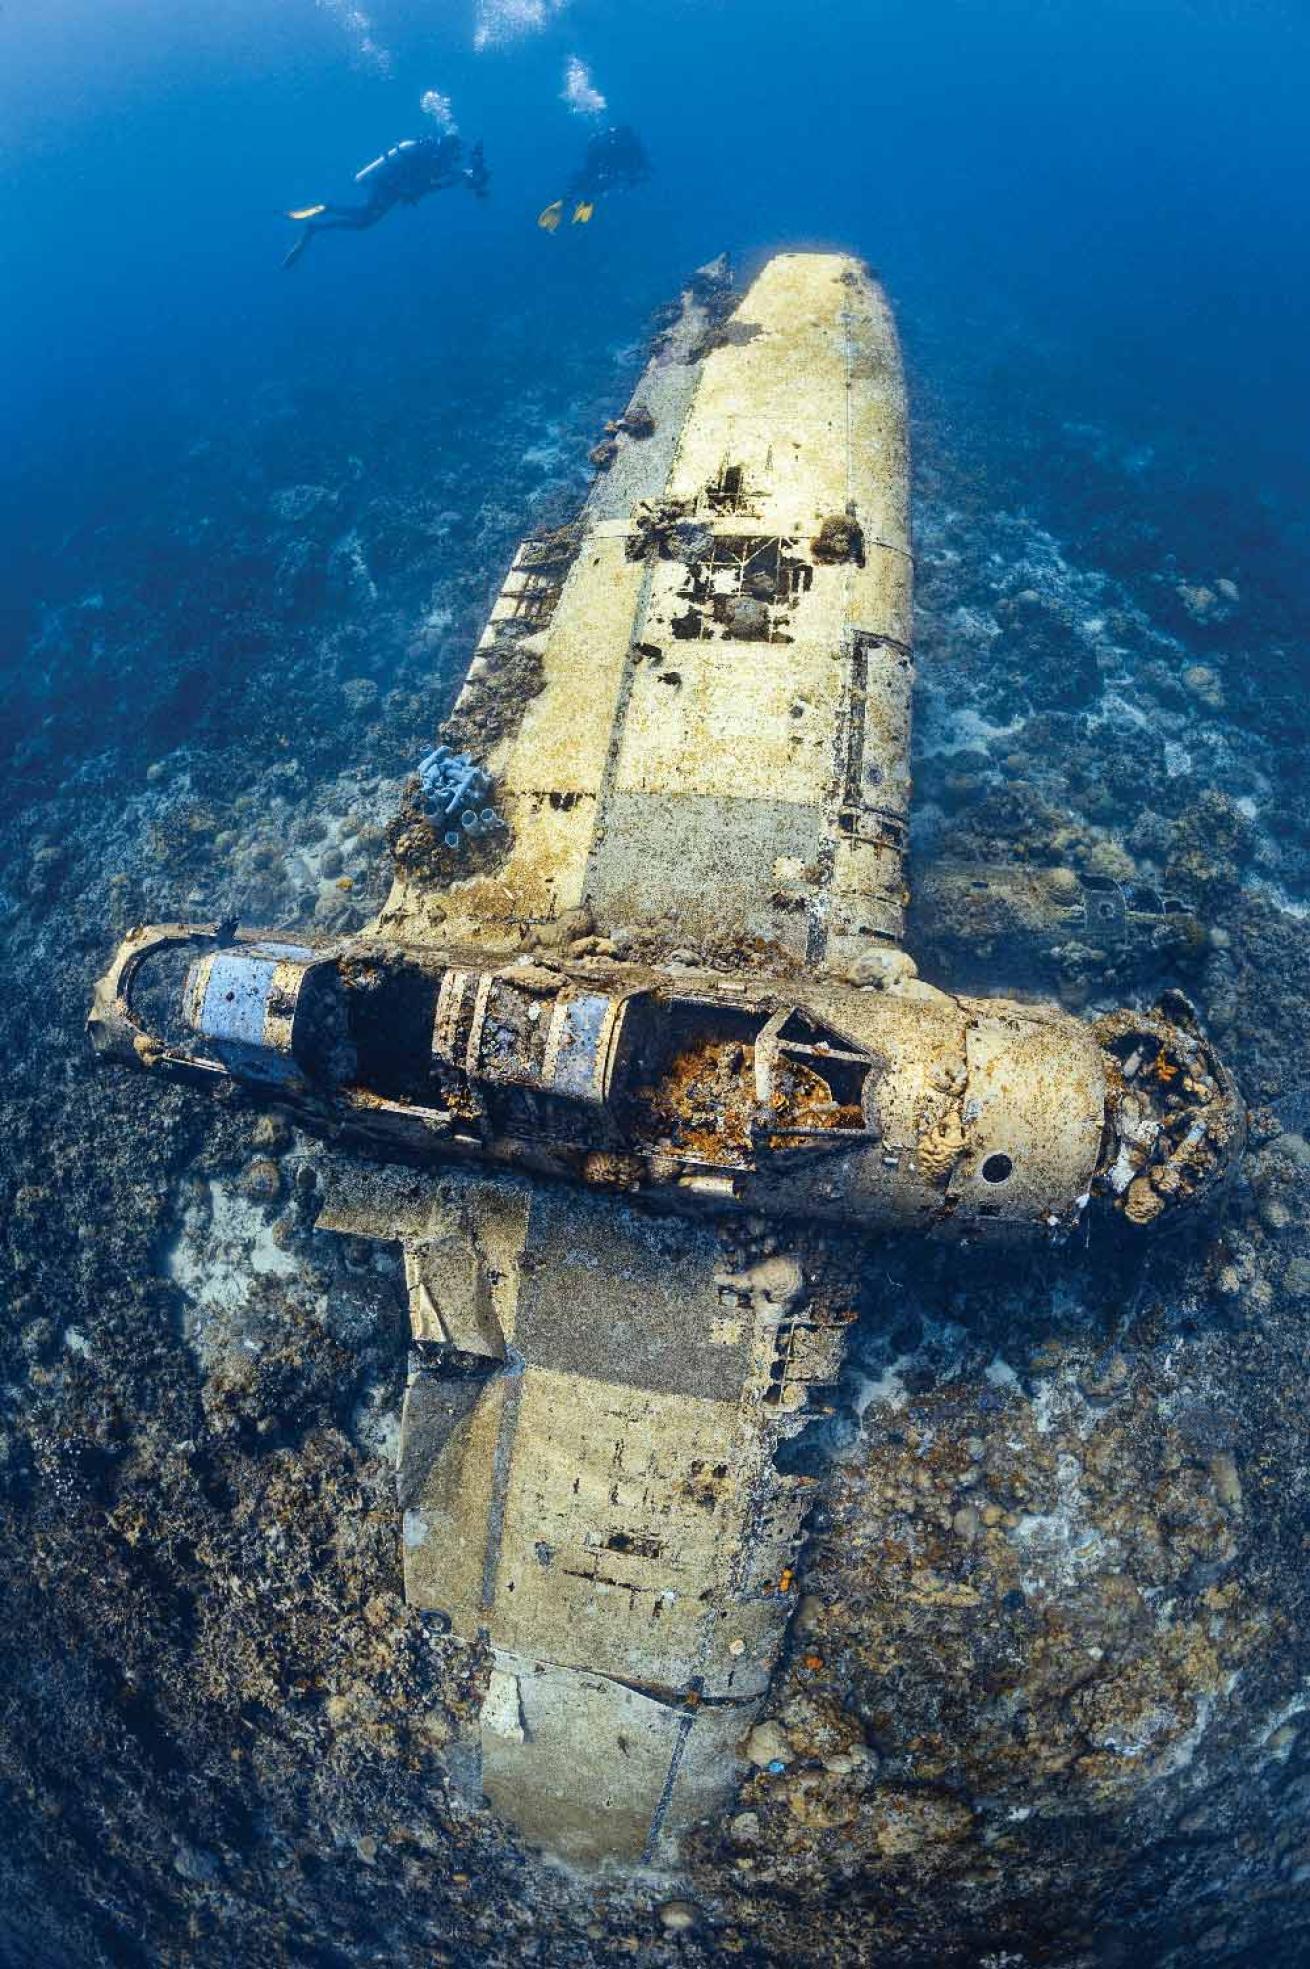
Alex MustardThe combination of filters, manual white balance, and shooting with the direction of sunlight reveals the detail and color of a wreck.
Chasing the big shot usually means a wreck scene will be too large to light with strobes. Rather than just lighting up backscatter, turn them off and shoot in ambient light. Wrecks are rarely about color, so you’re giving little away. When working with ambient light, you have three main options: Leave the image with blue (or green) color cast for maximum atmosphere; use white balance and filters to reveal the color and detail of the scene; or convert it into black-and-white for maximum impact. All have their merits and can be done on the same dive.
Unlike when shooting with strobes, pay close attention to the angle of the sunlight, which is needed in specific directions for different types of images. Since you can’t move the wreck, you have to plan dives at specific times during the day, when the sun is lighting the features you want to highlight. This is especially true of shallow wrecks in clear water. Experienced photographers build up databases of the right times to dive specific wrecks, and will swap this advice when visiting new ones. For example, I like shooting the photogenic stern of the Red Sea’s Giannis D in late morning, while I like how the afternoon sun illuminates the bow of Grand Cayman’s Kittiwake.
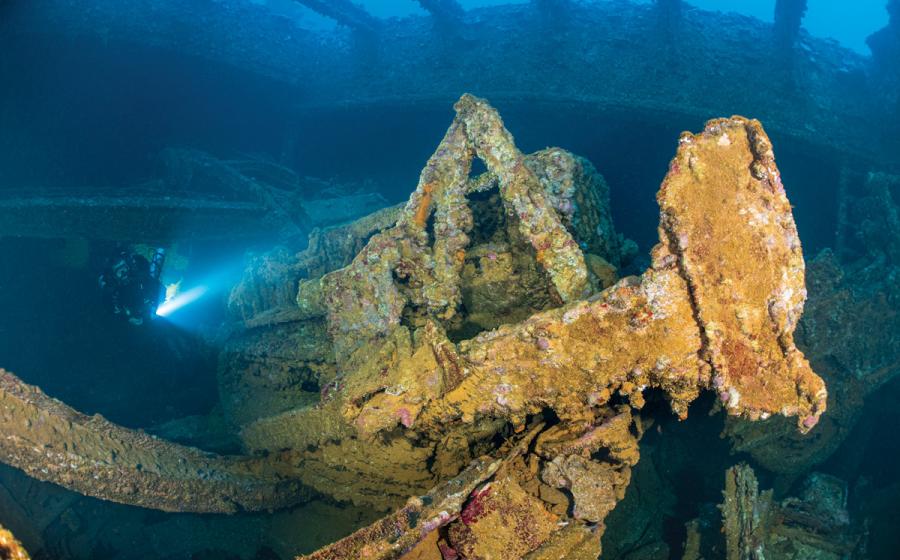
The simplest wreck images to take are those left with a blue or a green color cast. They are often peaceful images and can invite contemplation. You can easily add an additional point of interest by including a diver, which can be especially effective in darker conditions if the diver carries a powerful torch to light up part of the wreck.
More Underwater Photography Tips
Filter photography really suits wrecks that sit in 80 feet or less, because filters work with the camera’s white balance to help bring out the color of the wreck and make it stand out from the blue of the ocean. However, to capture the maximum color and detail, always shoot with the sunlight coming from behind you and onto the wreck. Make use of the fact you are neutrally buoyant and float up to the deck level of the ship, shooting slightly downward and ensuring you’re working with and not against the natural light.
Monochrome Magic
Wrecks simply suit black-and-white photography. This style creates a timeless atmosphere, but even more valuable is the way the conversion allows you to ramp up the contrast and really cut through the murk of the sea to reveal the scale of shipwrecks. In the pre-digital shooting era, the decision to go black-and-white was made long before the dive, when we loaded our film. Now you can switch to black-and-white underwater or instantly convert any image to monochrome in post-processing.
The trick when converting to black-and-white is to tweak the color channels (particularly the blue) with the aim of making the water either lighter or darker than the wreck to help it stand out. Both work; a light wreck looks just as good against dark water as a dark wreck does against light water. The best advice for post-processing photos is “less is more,” but that isn’t true for black-and-white wrecks. Don’t be afraid to add lots more contrast than normal, especially using the Clarity or Structure sliders to really pull out the detail.
Black-and-white conversions will rescue most average wreck shots, but your images will really become special when you start imagining them as black-and-white scenes during composition. Wrecks look particularly good in black-and-white when shot across the light so the three-dimensionality of the wreck is revealed by strong shadows. This means you want the sun coming from behind or across the feature you’re shooting so the shadows face toward the camera, a very different angle than when shooting with filters. Also try sinking down close to the seabed, and shoot up at the wreck so it stands out even better, giving the shot the maximum impact.

