How to Take Care of Dive Gear on a Camping Trip
From the rugged allure of Glacier National Park to the sandy vistas of Hawaii, the U.S. is full of camping spots adjacent to glorious dive sites. These camp-and-dive adventures are easy on your wallet and a great way to reconnect with nature while racking up dives.
The hitch? They present unique challenges when it comes transporting and cleaning gear. Especially if your destination is off the grid, you’ll need to make adjustments to keep your gear in tip-top shape. Based on my own experiences diving in the backcountry, this is what you will want in your pack to keep your gear organized and functional.
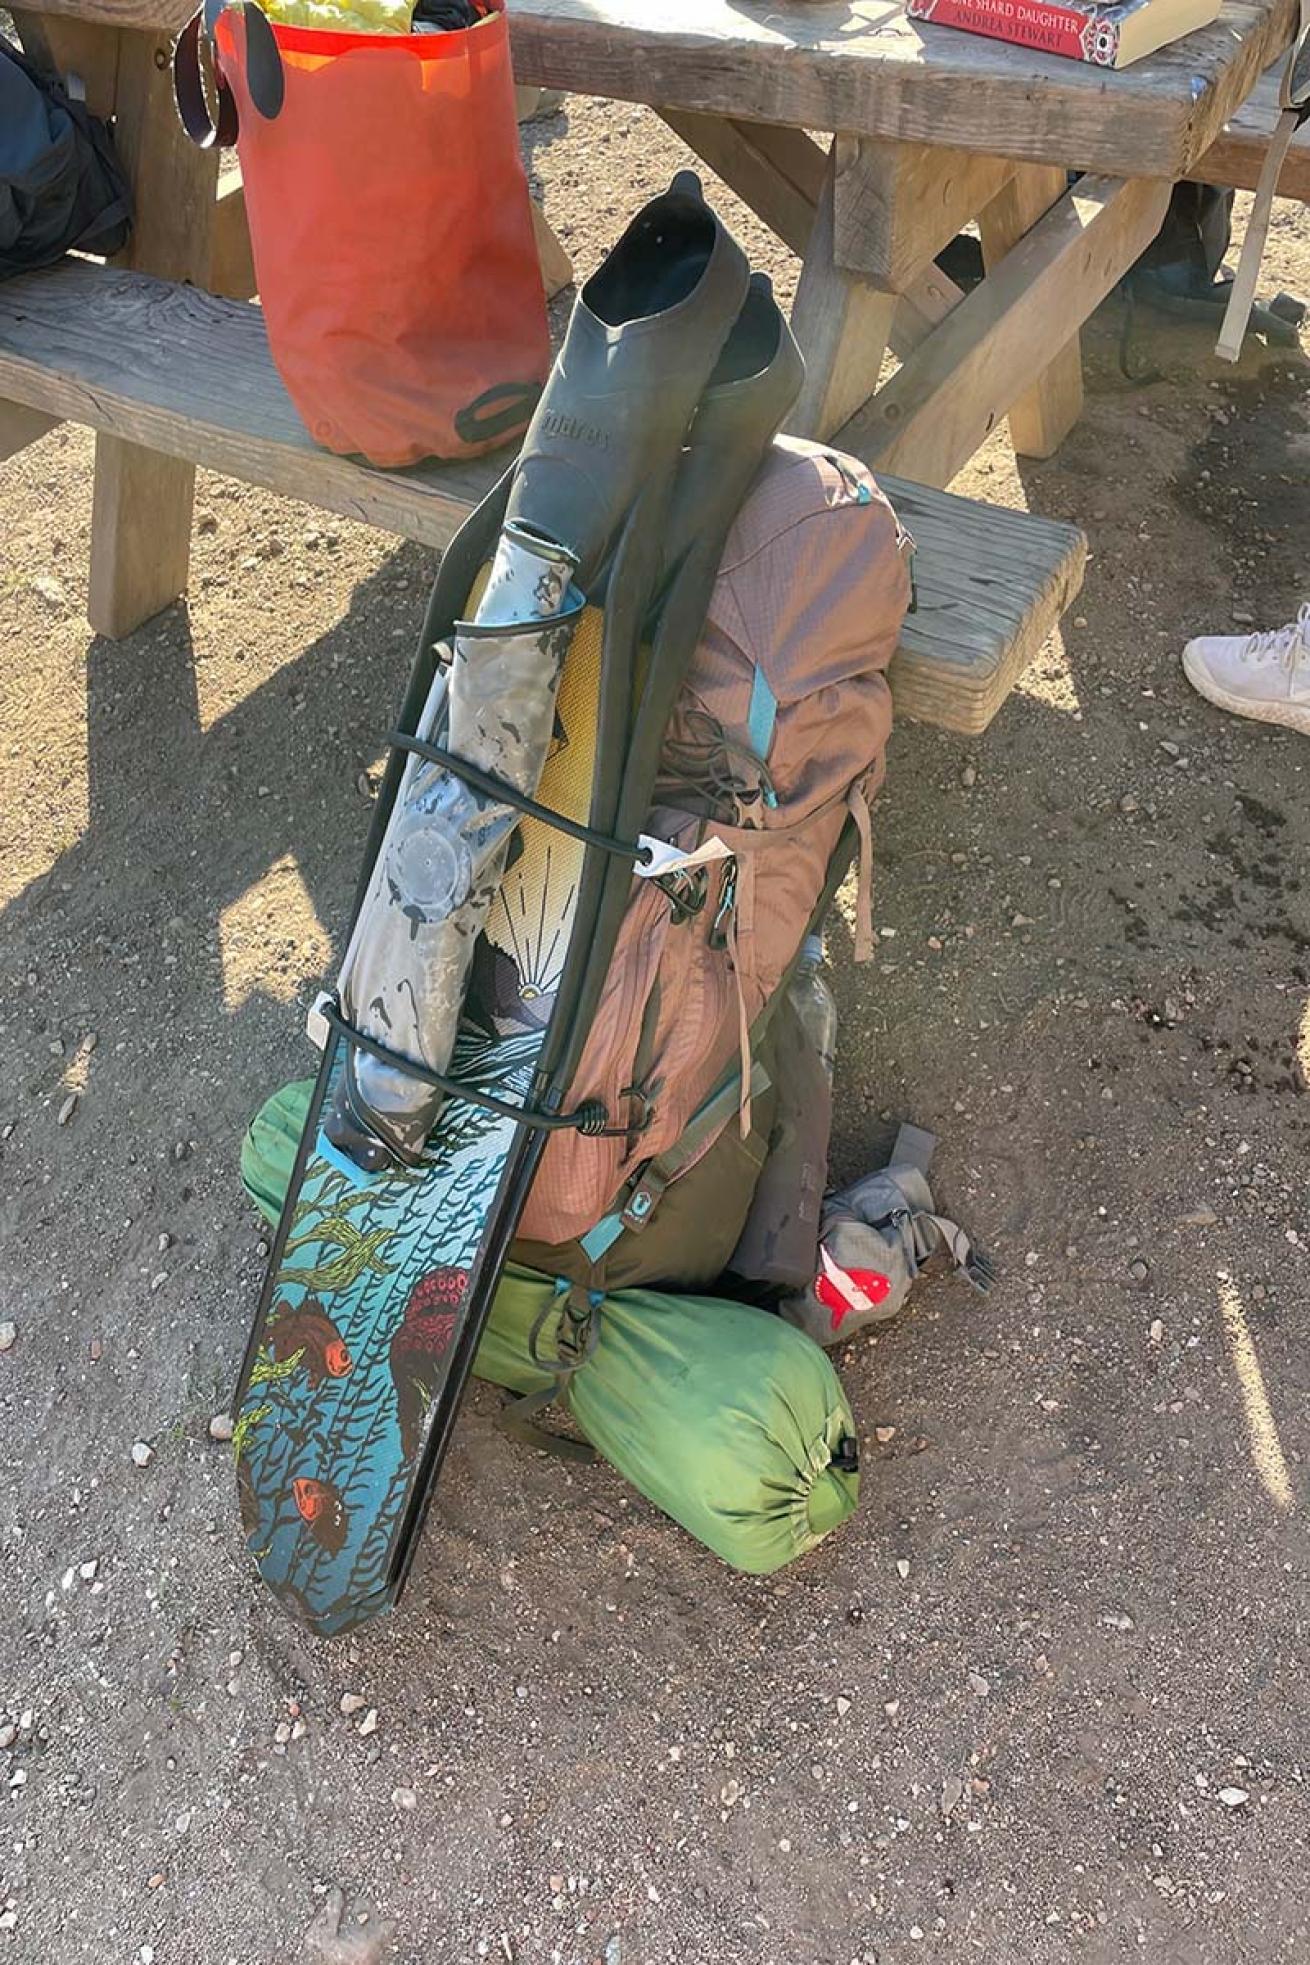
Alexandra GillespieStrap your fins to the outside of your pack.
For Transport
Bungee cords — These make it easier to secure your fins to the outside of your backpack or drybag for transport between your camp and dive sites hands-free. You’ll want either adjustable cords that can stretch or shrink to fit your gear configuration, or multiple short bungees that you can strap to some of the outer loops on your pack. Make sure your backpack has external loops for bungees to attach to.
Large drybag — A drybag keeps wet gear and damp towels self-contained everything else stays dry. One with backpack straps is easier to carry than a bag without any handles, but a standard drybag works as well.
For Cleaning
Preparation is key for this kind of travel, so you will have to pack some extra essentials.
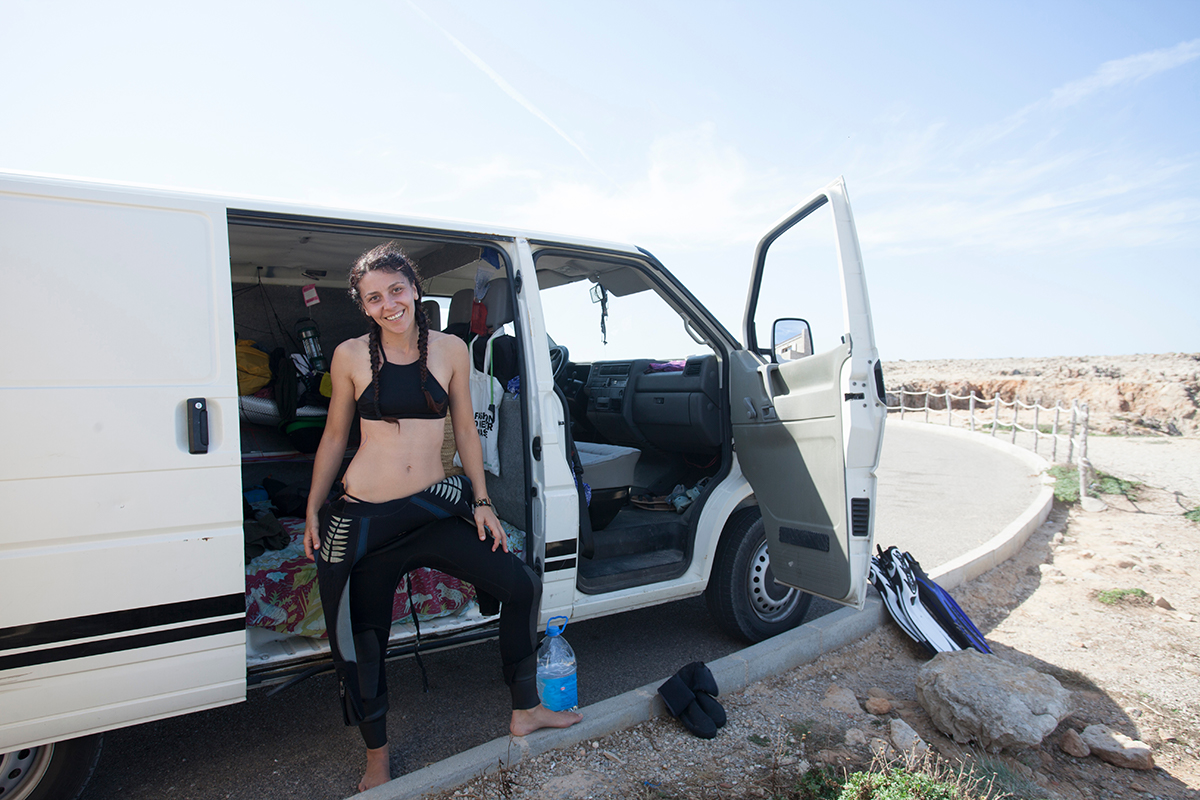
- Lightweight changing mat – When changing after a dive, minimize the amount of sand you will have to clean off your gear by using a changing mat. Back at camp, you can use your mat for laying out gear to dry. You want one that is waterproof, with drawstrings that transform the mat into a waterproof bag. I recommend a surfer-style changing mat, like this one that I use. Another good option is a woven plastic mat, which are lightweight, quick-drying, rolled up and easily for strapping to your pack. If you are on a budget, old tarps or thin welcome mats will also do the trick.
Concentrated soap – Bring concentrated, eco-friendly soap. This can be used for suit lube if you’re freediving or using an open cell suit, and you can use any extra for washing things like dishes, and yourself. I like Dr. Bronner's because it checks all of those boxes.
Spray bottle – You’ll need this to spray the soap and water mix onto your gear. I typically dilute two ounces of Dr. Bronner's (one travel-size container) in about 24 ounces of fresh water.
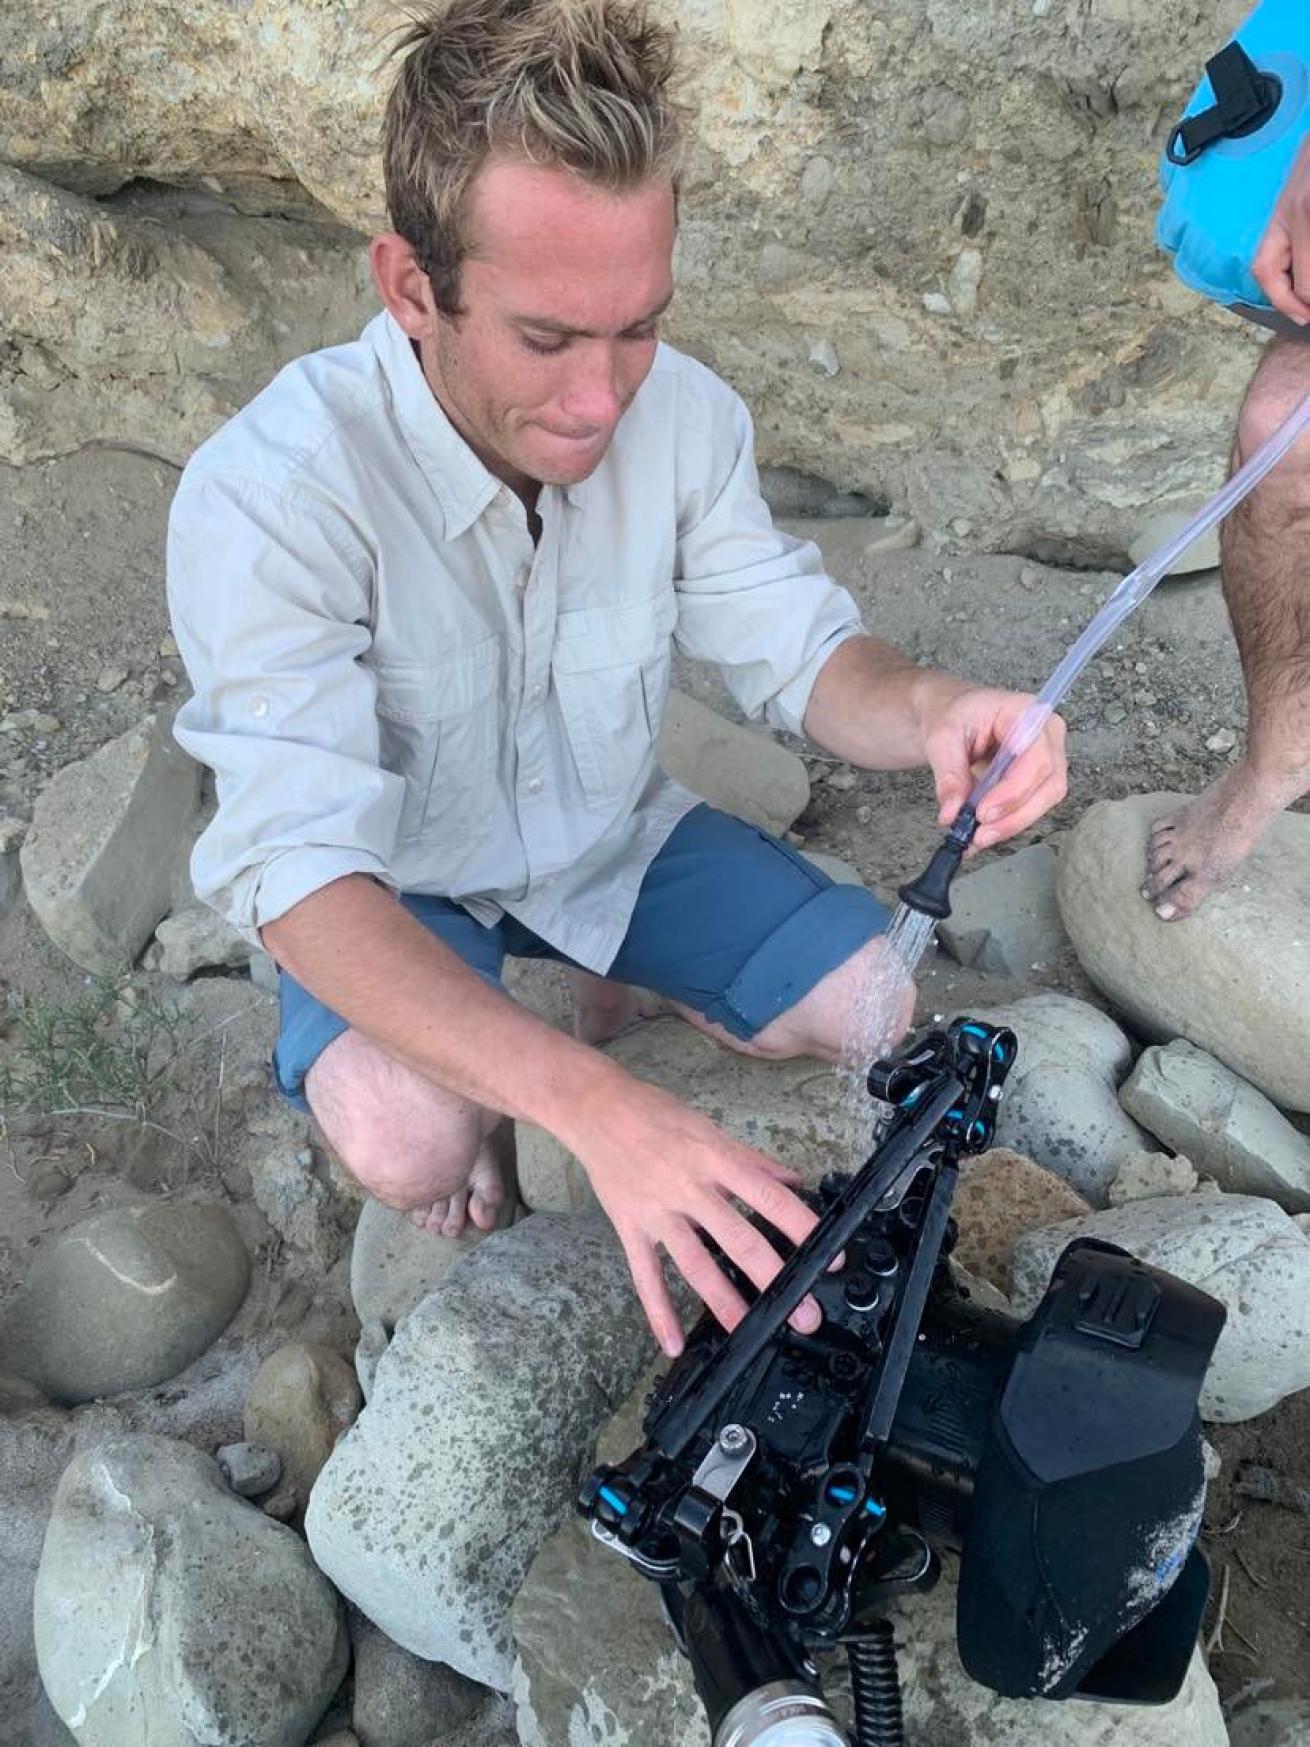
Alexandra GillespieWater is gravity-fed onto your equipment with a solar shower.
Collapsible bucket — This is one of my favorite camping gadgets. Incredibly versatile, it can be used for everything from laundry, to dishwashing to stringing up food at night. It also functions as an excellent rinse bucket for small gear to soak. They come in various sizes and are lightweight and packable, so you can bring several of them without weighing down your pack. I recommend a bucket with a rigid rim around the top to help it hold its shape when expanded. Fill the bucket and drop your wrist computer, light, boots, gloves and any other small pieces of equipment inside.
Solar shower – these are great for larger gear or if you are staying at camp sites without running water. The spray nozzle gives extra pressure to dislodge salt and debris, and you are able to clean larger items, such as your BCD, wetsuit and fins. (Remember to clean inside the BCD bladder by removing one of the shoulder dumps and flushing the inside of the bladder with water!)
A jar of cleaner – On longer trips, a little bit of Odoban or Sink the Stink keep your wetsuit smelling fresh. These products eat away the bacteria that accumulates on your gear and prevents you from getting a rash. You can put this (diluted) into your pressure shower.
For Drying
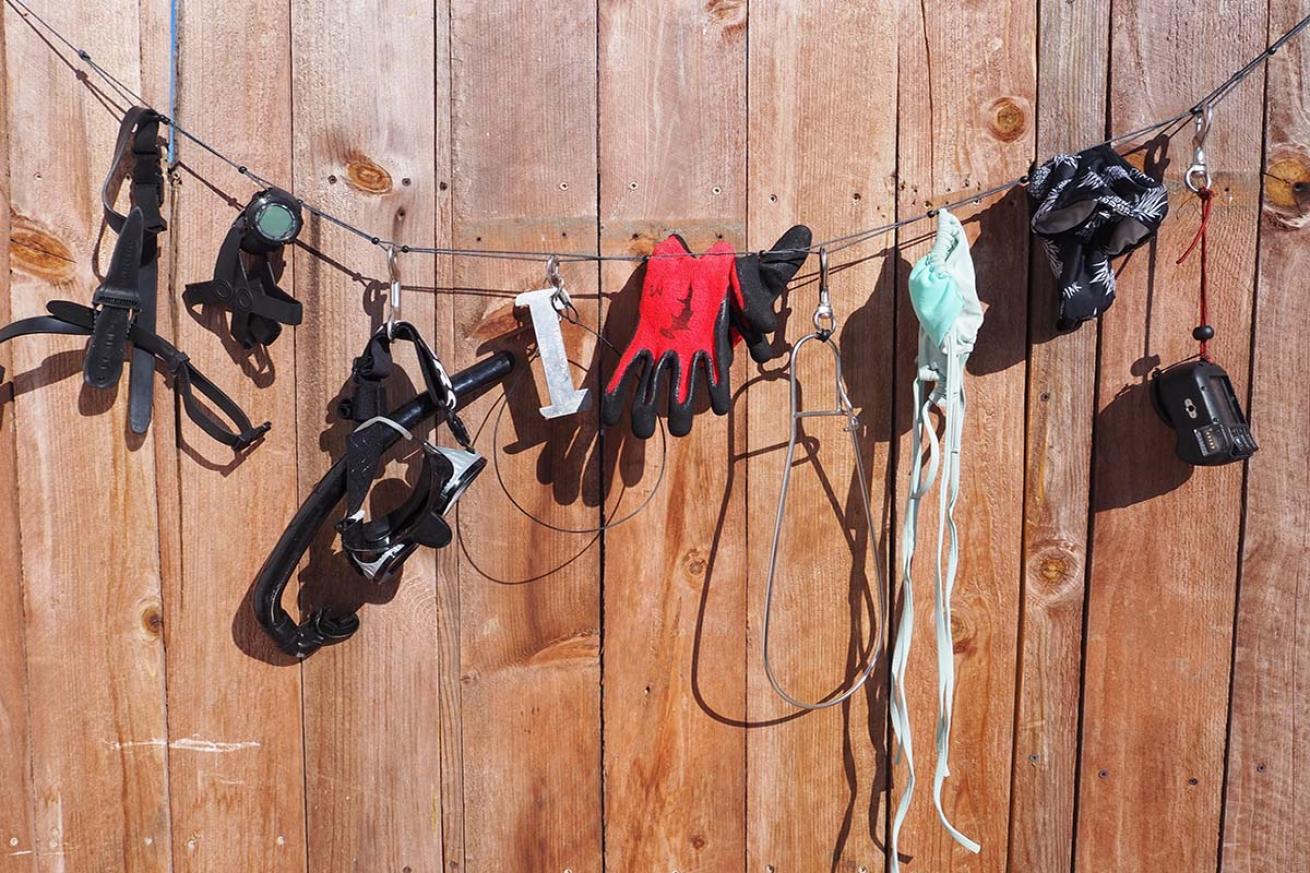
Ariella SimkePinning small gear to the line keeps it from falling into the dirt if the wind kicks up.
Lightweight double-strand drying line — Find two sturdy objects (trees work great) and string some rope between them. Bring enough line to create a few different levels, with space between the levels so your gear isn’t touching. This gives you extra surface area to dry. Remember to try and find a spot in the shade, if possible, since sunlight degrades gear.
Laundry clips — Keep small items, like gloves and boots, on the line with clips so an unexpected gust of wind doesn’t send them flying.
Lightweight changing mat — Use the mats you changed on at the dive site to lay out any other gear that won’t hang well, like cameras, lights and other accessories.

